|
The Sgt. Rock Cat Stove
|
| Editor's note: Sgt.Rock version of a popular alcohol stove
|
 |
|
Step 1&2
I did not invent this stove, the original model I based mine on was invented by Roy L. "TrailDad" Robinson, his stove design can be found at Hiking Web Site. I only put these instructions on my site because I have made some modifications, and I'm constantly being asked about how to make one.
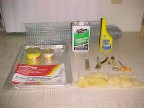
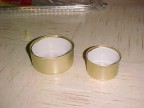
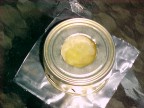
Step 1. Gather the Equipment. To build a Cat stove, you will need the following:
1 Large can of cat or dog food. $0.68
1 Small can of cat food. $0.30
1 Pair of oven liners. $0.97
Some fiberglass insulation. Free from a construction site scrap pile.
1 Hardware Cloth. Bought the roll a while back, can't remember the price.
or
1 Coat hanger. Free from your closet.
3 paper clips. Free from your desk, or someone's at work. Don't get the plastic coated ones.
Alcohol, denatured. You can find this in 32oz containers at Wal-Mart, Lowes, hardware stores, etc. Look in the paint thinner section.$2.98
or
Alcohol, methanol. Look for the yellow bottle of HEET brand fuel line anti-freeze. You can find this in 12oz bottles, look in the fuel and oil additives section of Wal-Mart, convinence stores, auto parts stores, etc. $0.89
Step 2. Gather your tools. You will need:
1 Large church key.
1 Small church key.
1 Pair scissors.
1 Small kitchen knife.
1 Hole punch.
12" Ruler.
1 Pair pliers with wire cutters.
|
|
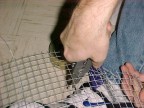
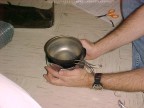
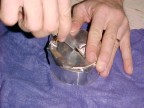
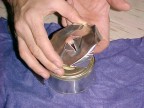
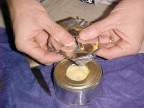
Step 3
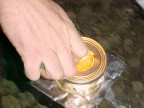
Clean out the contents of the cans, and strip off the labels.
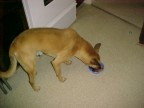
Feed the contents to dog!
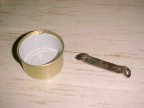  
Use the small church key to make 8 evenly spaced holes in the small can.
 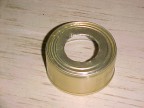
Use the kitchen knife to make a hole in the top of the can, about 7/8" across. Usually the same size as the inside ring on the can.
Use the large church key to make 8 evenly spaced holes in the large can.
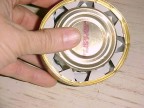
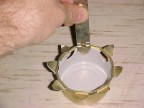
Line up the smaller can inside the larger, the tabs should interlock. The burner (small can) should be flat on the ground when placed upright, do not push the burner too high into the air jacket (larger can).
Bend down tabs on the larger can to secure them better.
Put fiberglass insulation into the smaller can. Ensure that the insulation is below the level of the burner air holes.
|
|
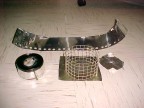
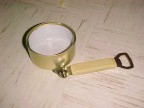
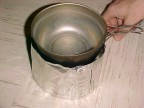
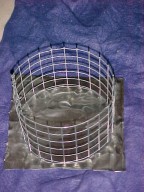
Step 4
Now we start on the pot stand. Measure the height of your stove. Add about 1" to the height.
Cut a piece of hardware cloth to the desired height, ensure you make it long enough to wrap all the way around your stove, and have a gap of about 1/4".
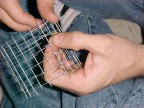
Wrap the hardware cloth into a circle. Wrap the ends of wire around each other to secure it
Measure your pot height above the burner, height should be about 1".
|
|
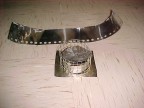
Step 5

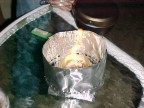
Measure for your wind screen height. A good rule of thumb is to make it to the bottom of the pot handles.
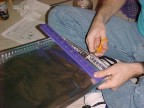
Cut the oven liner to the desired height, adding about 1" so there is room for error and adjustment.
Make your wind screen fit around your pot with about a 1/8" to 1/4" gap. Trim the top to the desired height. If your pot is too large, you will need to make a 2 piece wind screen.
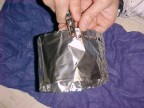
Use the hole punch to make as many air holes around the bottom edge as you can.

Use paper clips to secure the wind screen at the top and bottom. If you have a two piece screen, you will need two extra paper clips.
I also add a bottom heat reflector. Cut the reflector from some scraps to be just a little bigger than the pot stand.
|
|
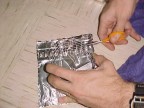
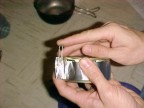
Step 6
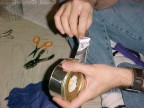 
Next we'll make the simmer ring and cover. Cut a strip from your oven liner wide enough to cover the air holes, and long enough to wrap all the way around with about 1" to spare. Secure the end with a paper clip. The original cat stove only included a simmer ring to close off air flow to the stove. I have found that making a simmer cover makes the simmer action more accurate, and can greatly influence the simmer level.
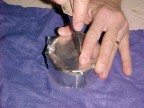 
Next, cut the cover from the scraps of the oven liner, make it big enough to cover the top of the stove. Then cut an "X" in the center above where the burner hole is.
To open up the hole and make a hotter simmer, simply push out on the bottom of the "X".
To close it up and make a longer, cooler simmer, push down on the top of the "X".
|
|
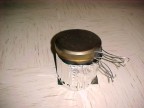
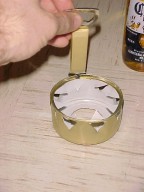
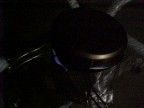
Step 7
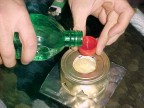  
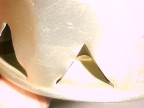
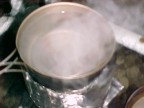
Now we light the stove for the first time. Fill the stove with 1oz alcohol, this is 4 cap fulls from a soda bottle. This will singe the fiberglass and help it stay in place, as well as help it conduct heat like a lantern mantle later.
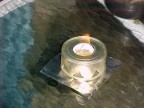 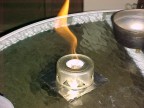 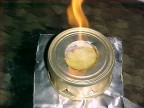
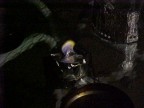
The flame will start off small, but will eventually get to about 12" above the burner. Notice in the third picture the fiberglass isn't burning! This stove was burning at full height for 10 minutes when this picture was taken.
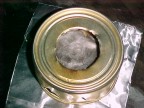
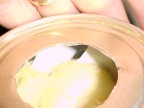
When the fire is out, the fiberglass insulation will have turned gray. This is normal.
This picture (above) was taken when the flame was almost out. This is the only time you can really see how the fiberglass works. When the flame is burning full, the light is too much to see this, but at this point the fiberglass is glowing like a weak lantern mantle. This is why the fiberglass is used, it helps to heat the alcohol, heated alcohol creates fumes which burn better than the alcohol itself does.
|
|
Step 8
The next thing we are going to do is actually cook on the stove, this will give us an idea of how well the whole thing works together. Prepare your pot with 2 cups water. Fill the stove with .5oz (2 cap fulls), set up the stove, windscreen and pot stand. Light the stove.
The stove will start off with the small flame - just like in the first run. Eventually the flames will get to the point that some will come around the top of the wind screen, not too much though.
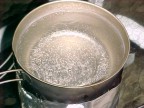
After 2:30 to 3:00 minutes, remove the lid and check - there should be bubbles from the boiling process forming. If not, put the lid back and check a little later.
After another minute (3:30-4:00) you should have a good rolling boil going. Let the water go until the alcohol runs out, which should happen at about 5:00 to 5:30.
|
|
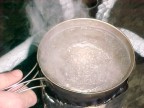
Step 9
Now were going to try to simmer. Put .5oz fuel (2 caps full) into the stove. Add the simmer ring, light, then put the cap on.
Stove should maintain a good water temperature for cooking, almost constant for the entire burn. Burn time may vary depending on how large you made the hole. A good time to aim for is 20:00 simmering at a good hot water temperature, just below a boil.
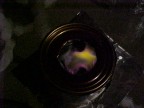
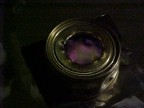
Here is another picture taken after the simmer. You can see after almost an hour of constant use, the fiberglass is still just as high inside the burner as when we originally built it. You may also see that on this burn, the fiberglass glows even brighter, even though it has about the same amount of alcohol remaining in it as the last shot of it glowing.
|
|
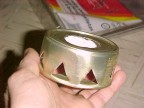
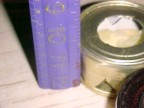
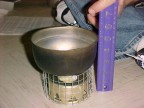
Step 10
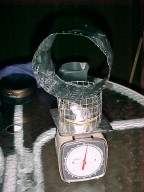 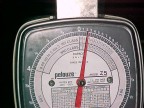
Last thing I like to do is weigh the stove. All the components we made are stacked on the stove, and as you can see, the total combined weight of all these pieces is only about 2.25oz.
|
|
The Author's Website: http://members.nbci.com/sgtr0ck/cat_stove.html |